After you have customized the appearance of your ClassiPress site the next step should be configuring the basic settings.
Locating the ClassiPress Settings
To locate the basic setting for ClassiPress complete the following:
- Click on the ClassiPress AppTheme.
- Click on Settings. You will see 8 different tabs that will be covered in this documentation.
Basic ClassiPress 4.x Settings
The basic settings of ClassiPress are laid out in 8 different tabs. Each new user should familiarise themselves with the settings of this AppTheme. Tabs 1, 2 and 3 should be focused on by everyday users. After you configure any settings ensure that you Save Changes before leaving that page.

General Settings (Tab 1)
Within the General Settings tab you can:
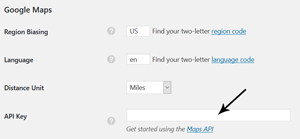
- Configure Geo Services. Learn more about configuring your Geo Services here.
- Edit the Basic Messages displayed by the ClassiPress AppTheme
Categories Settings (Tab 2)
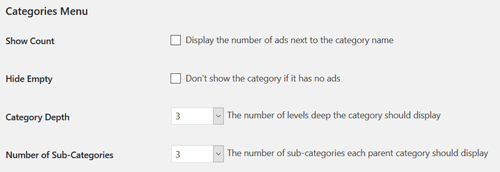
Within the Categories tab is where all category related settings can be found. These settings are divided into three sections: Categories Menu, Categories Page and Search Categories. The default settings within this section should be appropriate for most users although you may wish to review these settings prior to moving on.
Listings Settings (Tab 3)
Within the Listings tab there are four main sections: General, Ad Page, Moderate and Ad Images.
General:
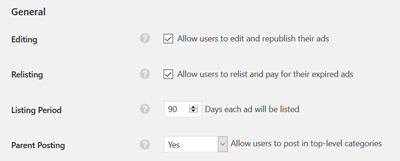
- By default users will be able to edit and republish their ads and relist and pay for expired ads. You can unmark these check boxes if you do not agree with these settings.
- The general listing period is 90 days by default. You can change this by replacing it with ‘x’ number of days.
Add Page:
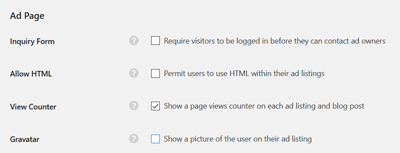
- If you want visitors to be logged in prior to contacting owners mark the Inquiry Form checkbox.
- Mark the Allow HTML checkbox if you wish to allow users to use HTML within their listings.
- To add a Gravatar of a user to their ad listing mark the appropriate checkbox.
Moderate:
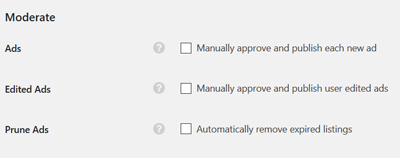
- Mark the Ads checkbox if you wish to approve each new ad
- Mark the Edited Ads checkbox if you wish to approve edited ads
- Mark the Prune Ads checkbox if you want expired listings to be automatically removed.
Ad Images:
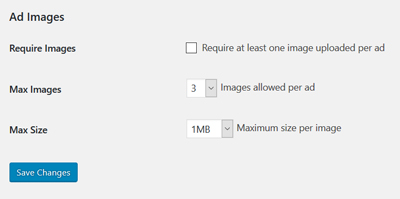
- Mark the Require Images checkbox to require one image per ad
- Use the drop down menus to specify a maximum amount of images and image size for each ad
Structured Data (Tab 4)
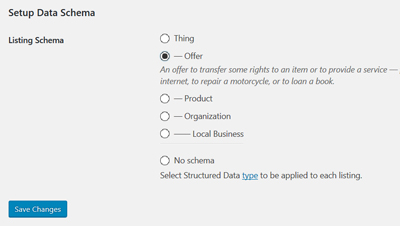
The best schema for a classified listing is an Offer. Generally you should not need to change this.
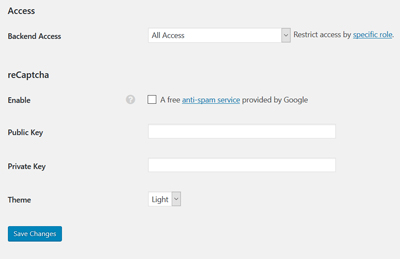
Security (Tab 5)
- Using the Backend Access drop down, you can restrict access to your site by specific WP roles
- You can add reCaptcha to the registration form on your ClassiPress site. Find out more about reCaptcha here.
Advertising (Tab 6)
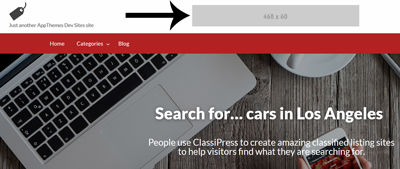
The Advertising tab allows you to implement ads on your ClassiPress site. You can add both Header and Content ads.
This section allows you to promote products and services from your website. This section allows you to control the default ad found at the top of a ClassiPress site. You can disable this ad if you wish.
Advanced (Tab 7)
Within the Advanced settings tab you have the maintenance options to:
- Prune expired ads
and
- Reset stats counter
The majority of the settings found within this tab are intended for developers only. All the settings in this tab can be left as default.
Reports (Tab 8)
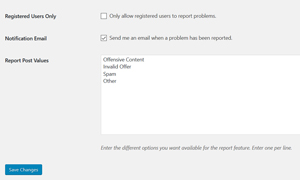
- Mark the Registered Users Only checkbox if you wish for only registered users to report problems
- By default, an email will be sent to admin when a problem has been reported
