At this point we assume that you have fulfilled plugin settings and have enabled at least one provider. If you have not done so, please follow the Setting Up the Price Comparer Plugin tutorial.
1. Creating Table
To create a price comparision table go to WordPress admin panel, then from left menu choose “Price Tables -> Add New”. A new page with form and settings will be opened.

At the very top you can give some name to this table eg. “Watches” if we going to create a comparision table with watches. This name is only for you and will not be visible on the frontend.
In the next field you can enter some description of table, it will be displayed above the table. You can use this field to to enter review of product or any other details. This field is optional so you can easily leave it blank.
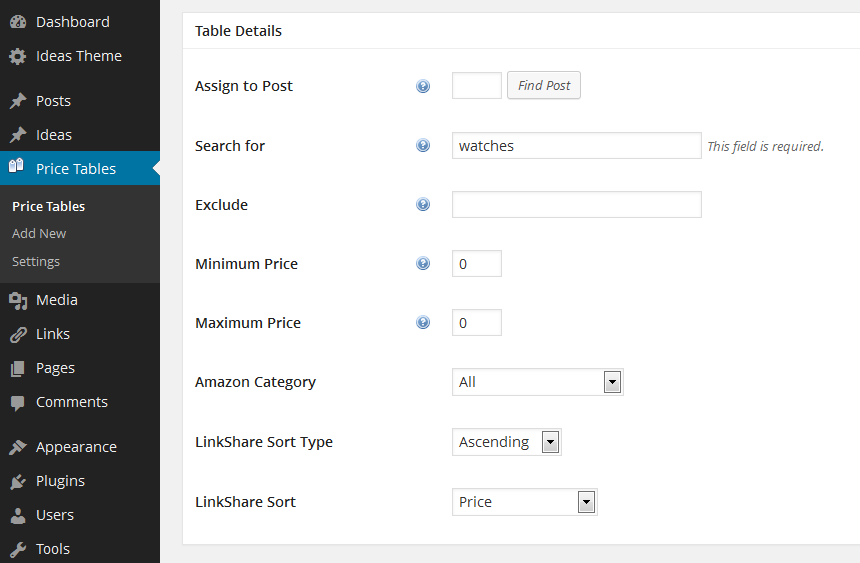
2. Table Details
- Assign to Post – Allows you to enter the ID of post under which this table should be displayed.
- Search for – Allows you to enter the comma separated list of words that product MUST contain.
- Exclude – Allows you to enter the comma separated list of words that product MUST NOT contain.
- Minimum Price – Allows you to enter the minimum price of product.
- Maximum Price – Allows you to enter the maximum price of product.
Table Details metabox contain settings that allows you to refine search of products available in each provider API. Only the “Search for” is a required field that you must fill.
Once you filled criterias of product refinement, click the “Save Draft” or “Publish” button, your settings will be saved, and in Providers metaboxes will be displayed products that match your criteria, as shown below:
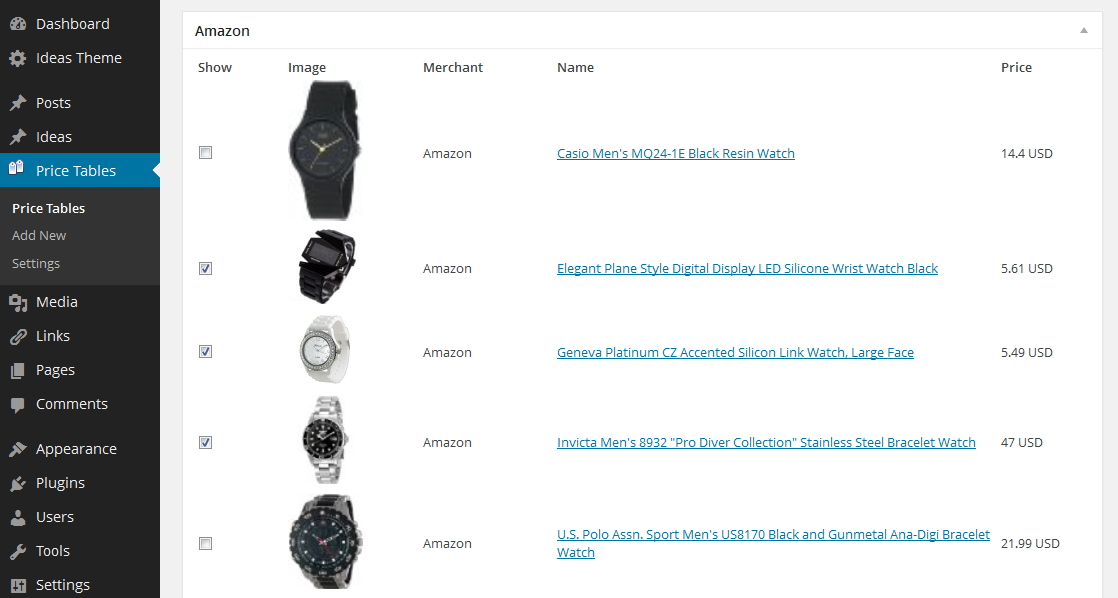
Tick the checkbox on the left side of each product that you would like to add into price comparision table, once completed, click the “Save Draft” or “Publish” button to save your selection.
All selected products will be moved to the “Selected Products” metabox, as shown below:
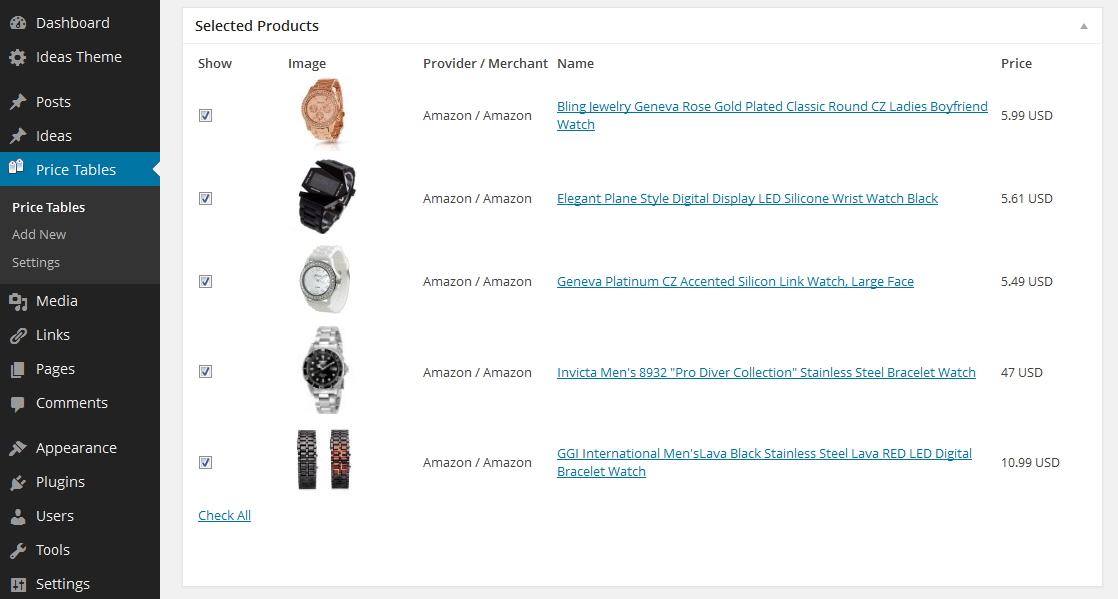
Please note that you can change search criteria multiple times to find all products you wish to include into table.
3. Displaying Table
To get the newly created table displayed on the front end, you can do it in 2 ways:
- Shortcode – copy shortcode visible on “Edit Table” page, open some Post or Page for editing, and simply paste this shortcode into description field.
- Assign to Post option – on “Edit Table” page, in “Table Details” metabox, you find the “Assign to Post” option. Click the “Find Post” button, and in popup select post to which this table should be assigned.

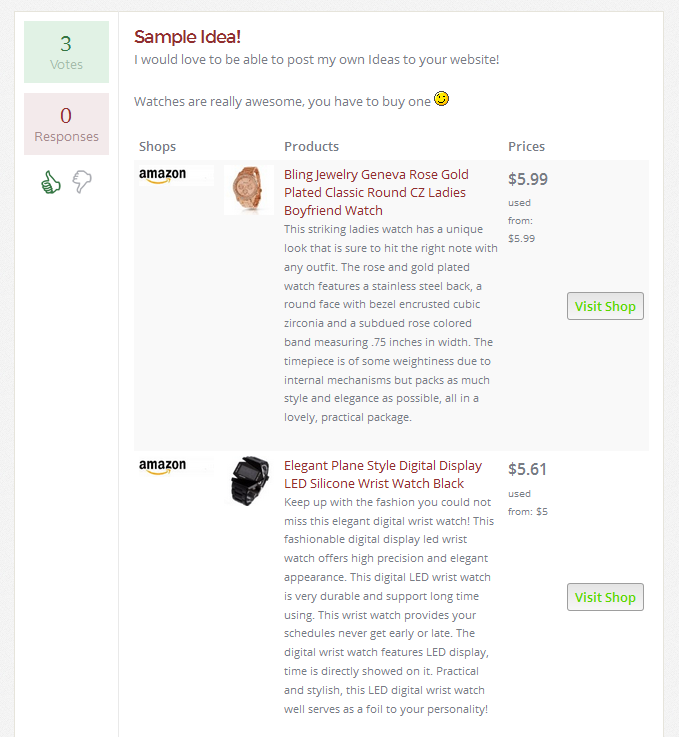
4. Final Result
Like this tutorial? Subscribe and get the latest tutorials delivered straight to your inbox or feed reader.