If you plan to make any modifications to Vantage, you should always do so with a child theme (or a theme specific plugin). Never modify the code in the theme folder otherwise your changes will be erased on the next theme update.
To create even the simplest child theme, you should have a basic understanding of PHP, HTML, and CSS. It would be helpful to know a little about child themes for WordPress. You should also know how to add files to your hosting site.
Create a Child Directory
On your localhost Vantage site (/wp-content/themes/), create a new folder named vantage-child. If you’re working remotely, you’ll need to sftp or ssh to the server first and create it there.
Create a Stylesheet File
Inside the new child theme folder, create a file called, style.css. It’s where we’ll place any style changes you want to make. The stylesheet must begin with the following code so copy and paste it.
/*
Theme Name: Vantage Child Theme
Version: 1.0.0
Description: A child theme for Vantage.
Author: Your Name
Author URL: http://www.your-url.com
Text Domain: appthemes-vantage-child
Template: appthemes-vantage
*/ |
Steps
- Replace the “Author” and “Author URL” with the details relevant to you
- The “Template” entry refers to the directory name of the Vantage parent theme
Create a Functions File
Inside the same child theme folder, create a file called, functions.php. Copy and paste in the code snippet below. This will load your child theme style.css file that we created in the previous step.
<?php /** * Registers the stylesheet for the child theme. * * @since 1.0.0 */ function vantage_child_styles() { wp_enqueue_style( 'child-style', get_stylesheet_uri() ); } add_action( 'wp_enqueue_scripts', 'vantage_child_styles', 999 ); |
@import url("../vantage/style.css"); in style.css. This is no longer best practice hence using enqueue in functions.php (it’s much faster and more efficient).Activate Child Theme
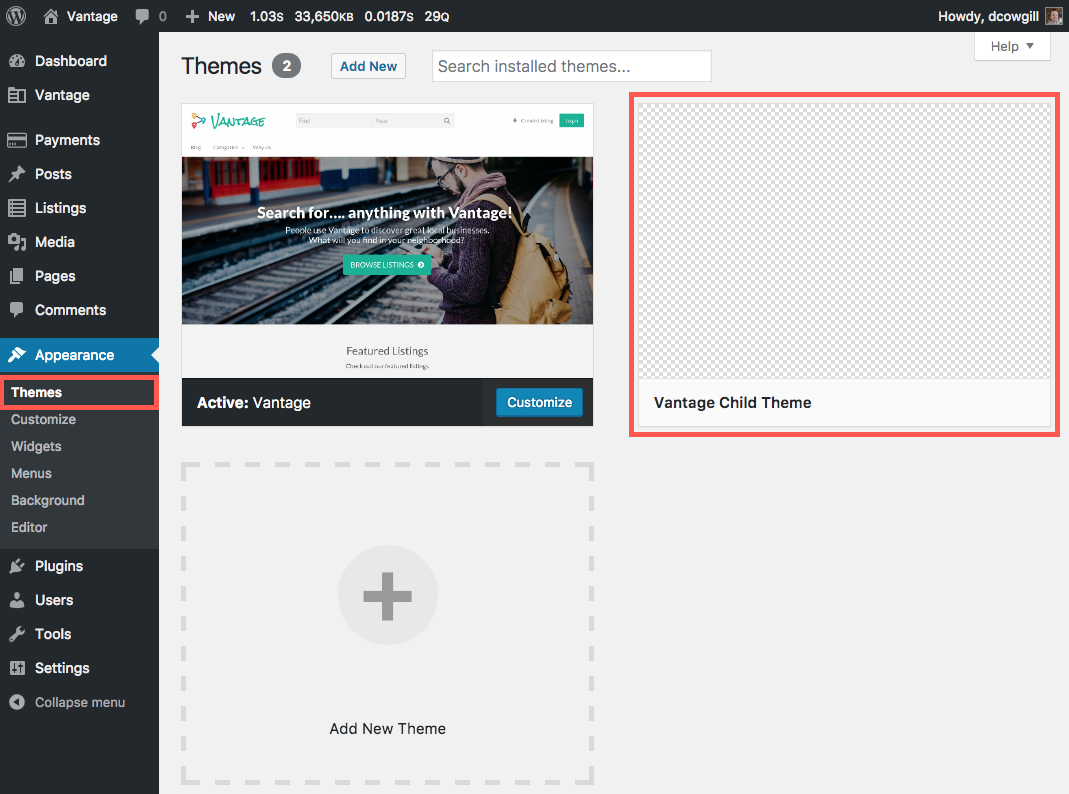
- Log in to your site’s admin panel
- Go to “Appearance” => “Themes”
- Click the “Activate” button
Visit your website once you’ve activated it. Guess what? Nothing looks different at all! That’s because you’ve just setup the skeleton child theme. From here, you can add page templates, different styles, override default functions, and more.
Add a New Font
To get you started, let’s add a custom style to override the default Vantage font.
Open your style.css and paste in this code below the header comments.
body { font-family: "Century Gothic", CenturyGothic, "AppleGothic", sans-serif; } |
Here’s what it should look like afterwards.
/* Theme Name: Vantage Child Theme Version: 1.0.0 Description: A child theme for Vantage. Author: Your Name Author URL: http://www.your-url.com Text Domain: appthemes-vantage-child Template: appthemes-vantage */ body { font-family: "Century Gothic", CenturyGothic, "AppleGothic", sans-serif; } |
Visit your website and then refresh your browser window. For Mac, hold Shift + Reload button. For Windows, hold down Ctrl + Reload button. This is to make sure you get a fresh copy of your style.css otherwise you won’t see your changes.
It’s only a subtle change so you might not even notice it. Again, this is just a simple example of how to change something via css.
Unregister Parent Stylesheet
In some cases, you’ll want to completely start from scratch and not inherit any of the default Vantage styles. In order to do that, you’ll need to `dequeue` the Vantage style.css.
Add the following two lines in your functions file within the existing first function you already added.
// Disable the Vantage default styles. wp_dequeue_style( 'theme-styles' ); |
Here’s what it should look like afterwards.
<?php /** * Registers the stylesheet for the child theme. * * @since 1.0.0 */ function vantage_child_theme_enqueue_styles() { wp_enqueue_style( 'child-style', get_stylesheet_uri() ); // Disable the Vantage default styles. wp_dequeue_style( 'theme-styles' ); } add_action( 'wp_enqueue_scripts', 'vantage_child_theme_enqueue_styles', 999 ); |
Now if you reload your website, you’ll see all the styles gone (except for your font change). You’ve basically got a clean canvas to work from but that means there’s a whole lotta work for you to do! Again, this is just an extreme example. Most people leave the stylesheet and just override certain elements.
includes/enqueue-scripts.phpAdd a Screenshot

If you’d rather create your own after your child theme is completed, you’ll need to know the following:
- The screenshot should be named
screenshot.png - The image size should be 1200×900 (to support HD displays)
- Place it in the root of your child theme directory
For more details on screenshot.png, visit the WordPress Codex Theme Development Page.
Like this tutorial? Subscribe and get the latest tutorials delivered straight to your inbox or feed reader.