Clipper is the perfect theme to offer your customers coupon codes.
The Clipper AppTheme gives you the structure and freedom to create a coupon site where admin can then monetize traffic. Payments can be accepted through bank transfer and PayPal in exchange for listing customer’s coupon codes.
Clipper Basic Setup Video Tutorial
After Installation and Activation of the Clipper
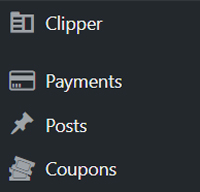
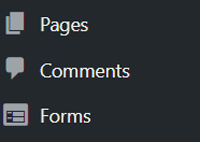
After you have installed and activated this AppTheme four main menus will appear on the side bar of your admin dashboard. These menus are titled: Clipper, Payments, Coupons and Forms. We recommend all users become familiar with these four menus.
Step 1) General WordPress Setting Configuration
To allow users to come to your website and register for an account (which they can then use to post discount coupons) you will need to enable membership settings. Enable this if you are creating/editing a website where you want outside users to be able to register.
- Go to your WP settings.
- Under the ‘General Settings’ tab you will see a box next to ‘Membership’. Ticking this box will allow anyone to sign up to your site.

Step 2) Configuring General Clipper Settings
Before you begin to advertise coupons on your site, you will need to configure some general settings. Most settings can be left as default, although some you may wish to customize to suit your website.
Further information on Clipper Settings found here.
- Under the ‘Clipper’ menu, click on ‘Settings’. Under the settings menu, you will see nine different tabs. You may not need to configure settings in all nine of these tabs.
General Settings Tab
You may wish to:
- Change the colour scheme of your website: currently there are five main schemes to choose from.
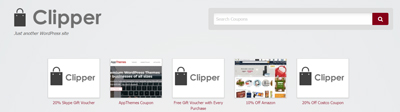
- Add a feature slider on the homepage of your website.
- Link your social media accounts.

Example: Featured slider on home page
Coupons Tab
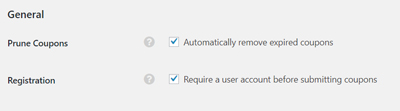
Under the coupons tab is where you can customize an array of fields to suit your website design. You may wish to:
- Tick the prune coupons box which will remove expired coupons from customers view.
- Tick the registration box to require a user to have an account prior to posting coupons.
- Tick the Charge for Items box. This will allow you to accept payments in return for listing a coupon code.
- Tick the Moderate Items box to make sure listings are approved by admin before going live on your website.
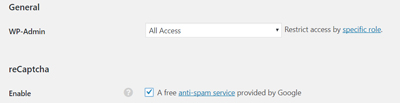
Security Tab
This tab allows you to activate certain security measures to limit the amount of bots and hackers that can access your site.
- Limit WP-Admin access depending on the role an employer has
- Enable reCaptcha for extra security measures
Step 3) Configuring Clipper Payment Settings
In order to receive payments from customers in return for listing a coupon code, you will need to enter in your payment details. There are four main tabs under the ‘Payments’ menu: General, Coupons, Bank Transfer and PayPal.
Further information on Clipper Payment Settings found here.
General Payment Settings Tab
- Choose which currency from the drop down menu you would like to accept.
- Apply a tax rate as a percentage (if applicable).
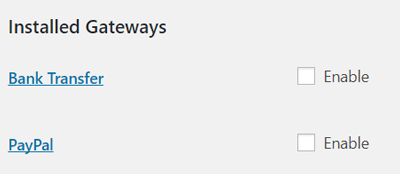
- Select which payment gateway you will use: Bank transfer, PayPal or both.
- You may choose to enable users to view their order in the back-end of the website.
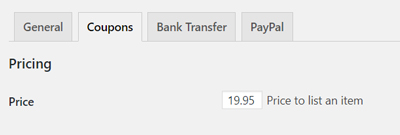
Coupons Tab
The ‘Coupons’ tab allows you to set an overall value which will be the base rate to advertise on your site. You can also specify a base rate for featured coupons to be listed.
Bank Transfer Tab
Under this tab, if you have selected to use bank transfer as your payment gateway, you may wish to enter in a message that your customers will receive after a successful payment has been made.
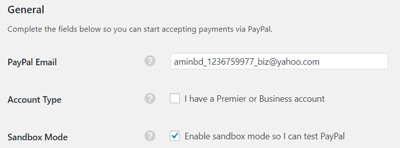
PayPal Tab
If you have chosen to use PayPal as your payment gateway you will need to complete the following:
- Enter in your PayPal email address.
- Enable Payment Data Transfer and Instant Payment Notification functions on your website (if you choose to).
Step 4) Creating a Coupon
Using this theme, you can create a coupon post in the admin dashboard of your site.
- Click on the ‘Coupons’ menu and then ‘Add New’. This will bring you to a page where you will need to enter in your coupon information.
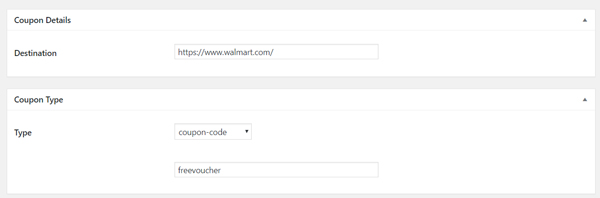
- Give your coupon a title and description.
- Enter in the website address of where your customers will be able to claim this coupon.
- Select the type of coupon you are offering from the drop down: a coupon code or a printable coupon. If you are creating a printable coupon, the option to add a media file will appear.
- Create a listing plan for the coupon (this is how long the coupon will be visible on your website).
- Publish your coupon.
You can find more information on creating and using coupons here.
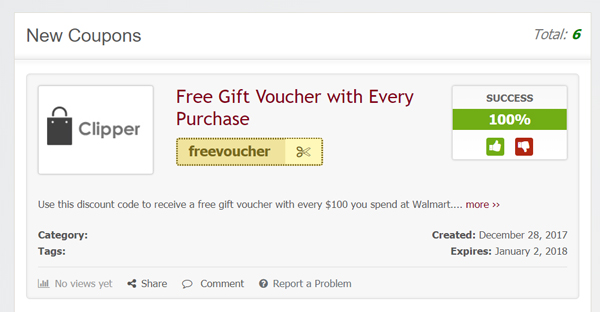
Example: A published discount coupon
Step 5) Setting up Stores on your Site
This feature works well if you have multiple coupons on offer for the same site (for example three coupons that work on Amazon). By creating a store, it allows you to bundle coupons for the same place together.
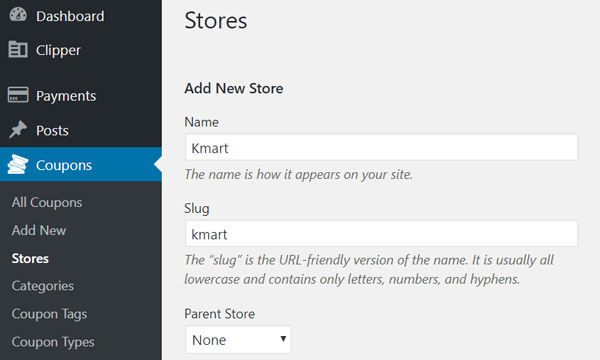
Creating a Store
- Click on the ‘Coupons’ menu and then on ‘Stores’.
- This will bring you to ‘Add New Stores’ page.
- You will need to enter in the name of the store and a URL friendly version of the name (the slug).
- You can add a parent store if this is applicable (for example, The Cake Company could be the parent company of Delicious Slices).
- You can add a description of the store and an image (using the logo of the store attracts your viewers attention).
- Copy and paste the URL of the store and an affiliate URL (if applicable).
- Click the ‘Add New Store’ button.
Linking the Coupons to the Store
- Click on ‘Coupons’ and then ‘All Coupons’.
- Click on the coupon you would like to add to a store.
- On the side bar of each coupon you will see a ‘Stores’ section.
- Tick the box next to the store that this coupon belongs to.
- Click the update button.
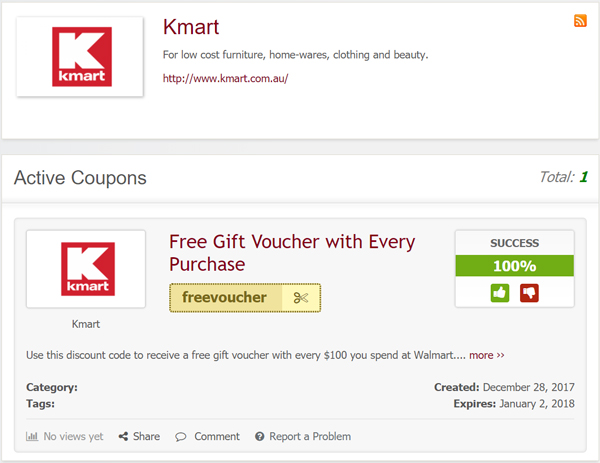
Example: Coupon Added to a Store
Like this tutorial? Subscribe and get the latest tutorials delivered straight to your inbox or feed reader.