HireBee is an AppTheme that allows employers to post projects and for freelancers to bid on these projects. A HireBee site involves three parties: the owner of the site, the employers of the site and the freelancers of the site.
A single user on a HireBee site can be an employer, a freelancer or both. It is important to note that only those with ’employer’ in their role can post jobs and only those with ‘freelancer’ in their role can apply for jobs (Unless Share Role Capabilities has been checked).
In this documentation we will look at the Workflow of a HireBee site:
- How an Employer can Create a Project
- How a Freelancer can Apply to a Project
- How an Employer can Accept or Decline Proposals
- How the Project is Delivered
- How to Cancel a Project
- Refunding and Disputing a Project
- Completion of a Project
1) Creating a Project as an Employer
This section will outline how to create a project as an employer. Please note that projects can also be created as admin from the WordPress dashboard.
Ensure your employer has registered for an account. Then they can complete the following steps to post a new project:
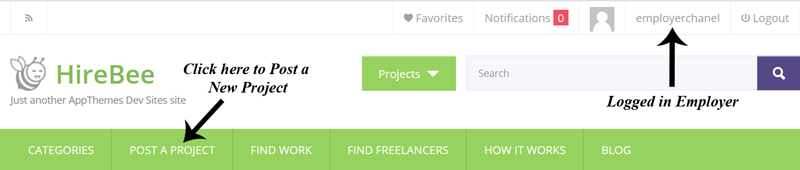
Step 1) Log in to your account.
Step 2) Once you have logged in to your account, you will see a menu titled ‘Post a Project‘. Click on this menu.
Step 3) You will be taken to a three step form where you will need to enter in details about the project (there can be more steps in some cases where there is a cost associated with posting a project). Some fields within this form include: what you need, project details, categories and skills, budget (either a fixed amount or per hour) and duration. Fill out each required field.
Step 4) Confirm and Submit your project.

Step 5) Your project has now been posted and potential freelancer can begin to apply.
2) Applying for a Project as a Freelancer
This section will outline how to apply for a project as a Freelancer.
Ensure your freelancer has registered for an account. Then they can complete the following steps to apply for a project:
Step 1) Once logged in to the site, click on the Find Work menu.
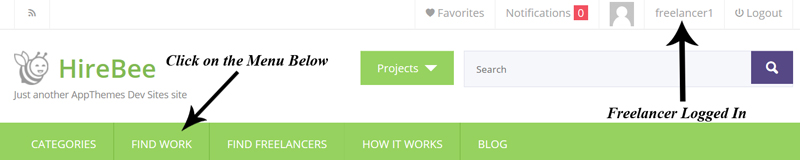
Step 2) You will now see all the projects that have been posted by employers. You can read the details about each project and find one that suits you.
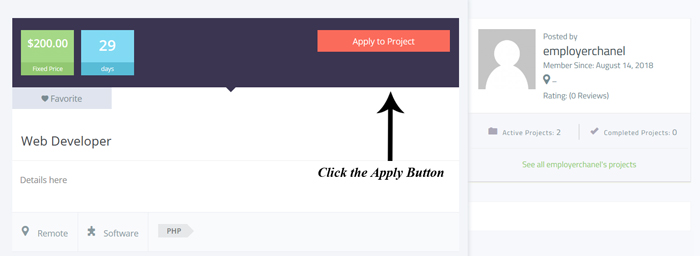
Step 3) Click on the title of a job that you wish to apply for and then click on the Apply to Project button.
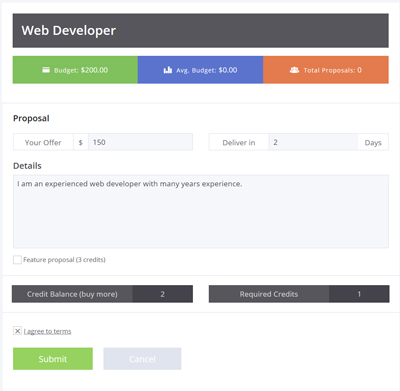
Step 4) Fill out a proposal for the project. There are a couple of fields in the proposal including: your offer, delivery time and details about why the employer should choose you.
Step 5) Once you fill out your proposal, agree to the terms and click the Submit button.
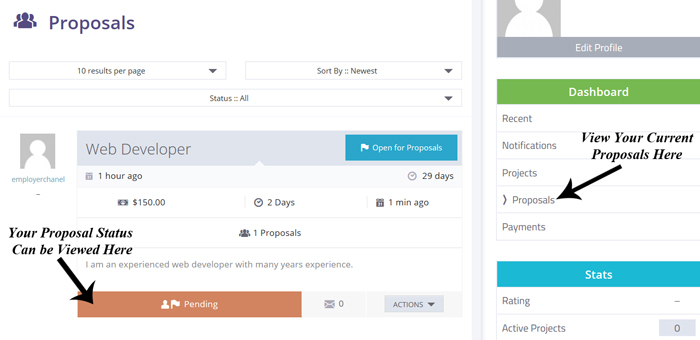
Step 6) You will get a notification letting you know your proposal has been sent to the employer. You can view your proposal status by clicking on the Proposals menu under your Dashboard.
3) Accepting or Declining Proposals as an Employer
If you have posted projects as an employer, freelancers can start applying for them as soon as they are live on the site.
You can choose to accept or decline proposals. You may choose to accept a proposal if the candidate is suitable and offering to complete the project for a reasonable price. An employer may choose to decline a freelancers proposal if they are too expensive or under qualified for the job. Ultimately, it is the employers decision of who they choose to complete the project.
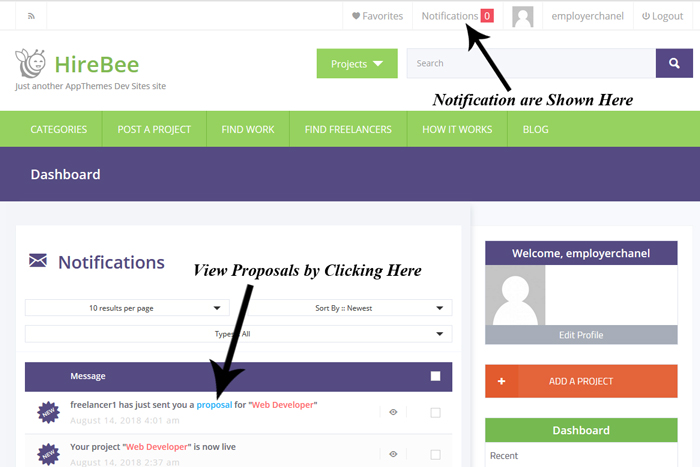
Step 1) When a freelancer applies for a project, you will receive a notification at the top of your dashboard. This will be represented as a number. For example ‘1’ means you have one notification.
Step 2) Click on the Notifications menu to view all of your notifications.
Step 3) View proposals from freelancers by clicking on the word ‘Proposal‘.
Step 4) View all the proposals submitted by freelancers.
Step 5) Once you find a proposal that you are happy with, click the Select Proposal button. Once you proceed to click this, the freelancer will then get a notification. They will need to accept the terms.
Step 6) Once your freelancer accepts the terms, you will also need to accept the terms. You can add notes to the employer at this stage. Click the Accept/Start Project button to commence the project.
Step 7) In your Notifications menu, click on the project to view the progress. Click the Visit Workspace button to Cancel the Project.
4) Delivering a Project – From the Freelancer to the Employer
A Freelancer is expected to deliver the project to the Employer in the manner stated in the agreed terms. You may submit the job via email or the job may be work on the employers site. The delivery differs depending on the nature of the project.
Step 1) Ensure you complete the project in the specified time period and of the standard outlined in the proposal.
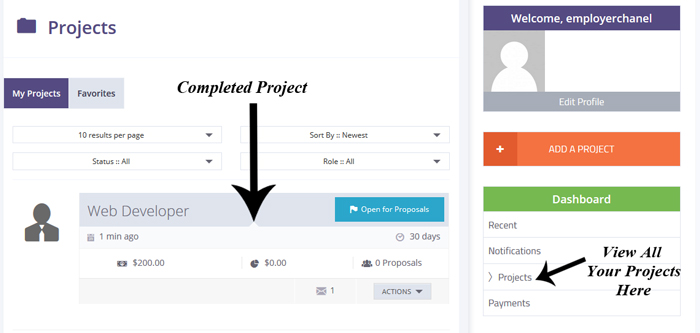
Step 2) Once you complete the project, click on the Projects menu under the Dashboard.
Step 3) Click on the project that you have completed. Then click on the Visit Workspace button.
Step 4) From the Status Drop-down choose the Completed option. You can add notes about the work you have completed here as well.
Step 5) If for any reason you cannot complete the project, you can choose the Incomplete option.
Step 6) Click on the Update button. Your employer will get a notification about the updated status of the project.
5) Cancelling a Project
As an employer, you can cancel a project at anytime.
You can do this by:
Step 1) Locating the project and clicking on the Visit Workspace button.
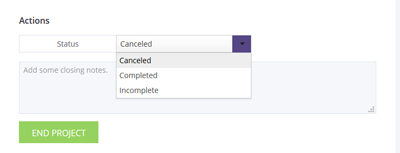
Step 2) Going to the Actions section and choosing Cancelled from the drop-down menu.
Step 3) Then clicking the End Project button.
6) Refunding and Disputing a Project
If you have the Escrow feature enabled on your HireBee site the following will apply:
If the Employer does not confirm or cancels the deal, any funds paid to the escrow account will be refunded to the Employer.
If the Disputes feature is enabled in HireBee, admin decides what to do. If there is a dispute it is ultimately the admin of the site who decides where the funds should go. If the money should be paid to the Freelancer or if the money should be returned to the Employer.
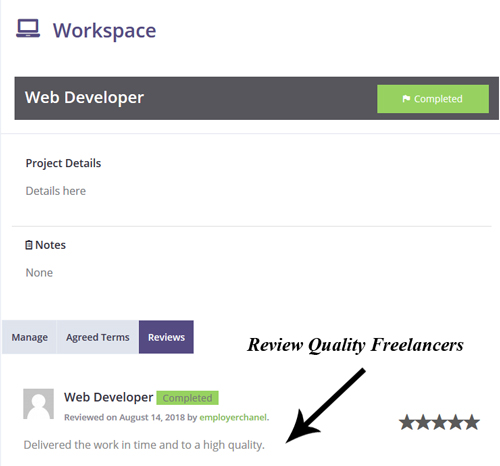
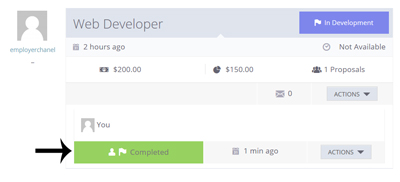
7) Completion of a Project
Once a project is completed, the freelancer can review the employer and the employer can review the freelancer.
The project will display a ‘Closed On‘ date. This means that both the freelancer and employer have stated that the project has been Completed.