Before you begin to accept payments in exchange for listing advertisements on your site, you will first need to set up simple payment details.
General Payment Settings
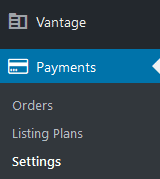
Once you activate the Vantage theme, a ‘Payments’ menu will become visible in the admin dashboard. Click on the ‘Settings’ menu, under ‘Payments’. This will bring you to the general payment settings.
- Ensure you select the correct currency for your website.
- Under the Tax heading, you are able to enter in a percentage of tax you wish to charge.
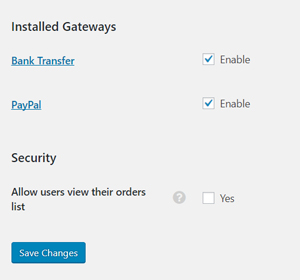
- Select the gateway or gateways you wish to accept payment through. This plugin offers both bank transfer and PayPal. You can use one or both of these to accept payments from your customers.
- Ensure you save any changes you have made.
Example: Enabling Payment Gateways
Listings Payment Settings
Under the ‘Listings’ tab of ‘Payment Settings’ you can configure the following:
- Set a global cost that your customer’s will need to pay to list any item
- Set a global cost that your customer’s will need to pay to list an item in a specific place on your website
- Choose to have recurring payments (example: charge your customers on a per month basis to have their adds listed)
Bank Transfer Settings
Under the ‘Bank Transfer’ tab, the site admin can configure a message that will be shown to customers after a successful payment is made. This may include how long it will take for their advertisement to be visible along with any steps the customer should take.
PayPal Payment Settings
The ‘PayPal’ tab under the ‘Payment Settings’ of this theme allows you to handle all customization relating to PayPal payment. To be able to accept PayPal payments from your customers you will need to complete the following:
- Enter in your PayPal email address.
- Tick the box next to account type if you have a premier or business PayPal account.
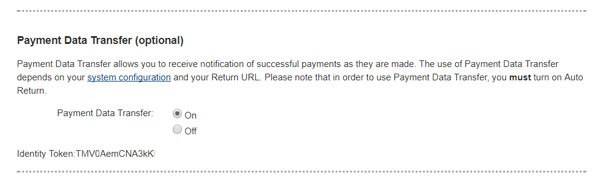
- Enable Payment Data Transfer if you need this for your website to function optimally. You will also need to activate PDT in your PayPal account. Once you have activated PDT, copy and paste your unique identity token from your account into the PayPal payment settings.
- Enable Instant Payment Notifications (IPN) if you want your website to be notified of any payments completed through PayPal. Ensure you enable this feature if you are offering recurring payments to your customers.
Example: PayPal Payment Settings
If you choose to use PayPal as one of your sites payment gateways ensure you enter in your PayPal email address. You may also choose to enable PDT.

Example: Enabling PDT and Copying Your Unique Identity Token
Your PayPal PDT information can be found by clicking on ‘Selling tools’ and then by updating ‘Website preferences’.
Like this tutorial? Subscribe and get the latest tutorials delivered straight to your inbox or feed reader.