Exporting your Vantage Site, then Importing it Again
Josh Ronk
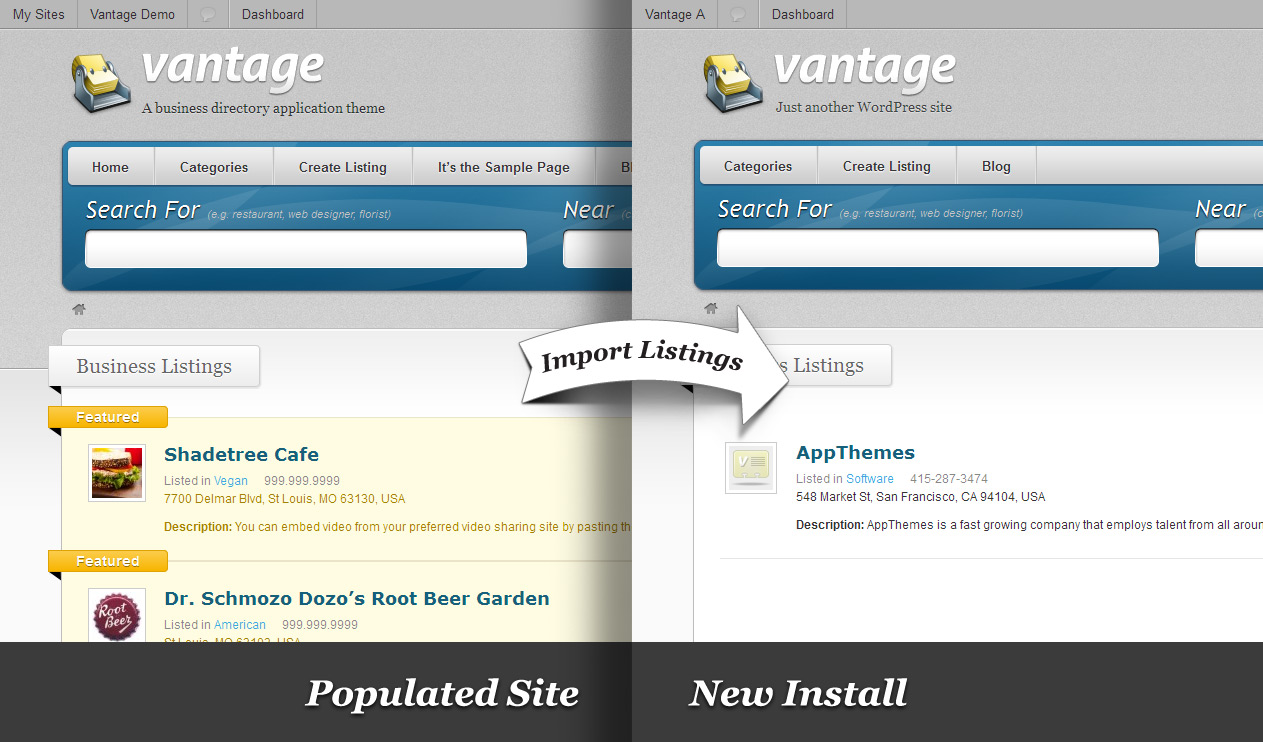
Importing from one Vantage site to another
So, let’s say that you have a Vantage site setup and you wanted to make a new site with all of that content – listings, associated custom forms, orders, uploads and attachment – and create a second site with all that content you worked very hard to create. How difficult would that be? Well, AppThemes builds our themes the WordPress way which means you can benefit from the useful “Import” and “Export” tool. You can find these useful tools in the aptly named “Tools” sidebar menu in the WordPress admin.
I will walk you through how to use these WordPress tools to Export your “old” Vantage site, and Import that content into your “new” site.
Exporting
Export listings
Creating the Export File
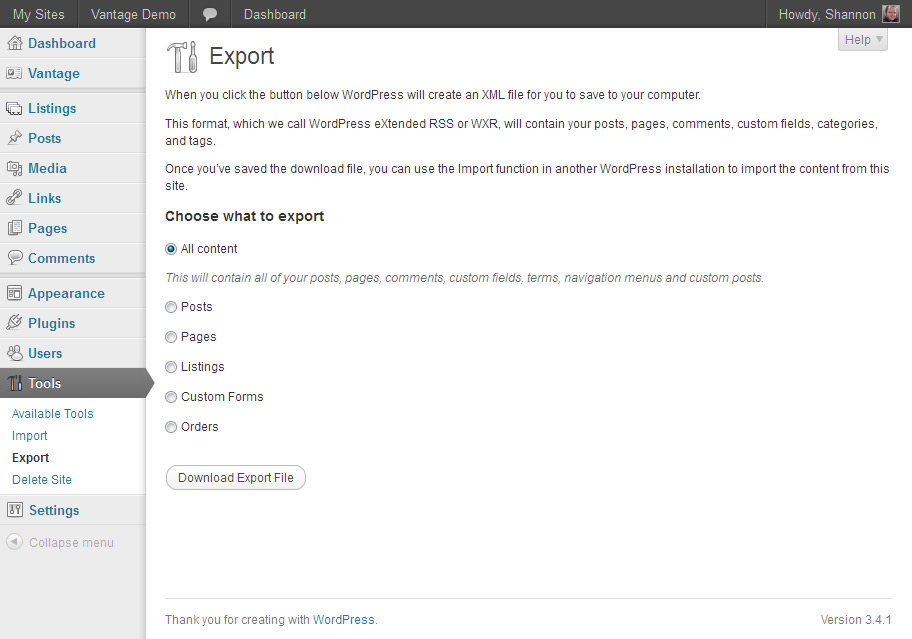
Login to wp-admin as administrator. In the left sidebar, navigate to Tools -> Export.
You will see the Export page, asking you to choose what to export. Make sure the defaulted option “All content” is chosen.
Click the “Download Export File” button. Save your file to a location where you will remember to find it in the importing step.
WordPress even names the export filename in a helpful way too, like “vantage.wordpress.2012-08-07.xml”.
That’s it for exporting, now let’s go to the importing steps!
Importing
Set up permalinks
Now let’s wait before starting the import on the new site and get our ducks in a row.
We will cover a few steps to get our new site prepared for the import.
New Site Preparation
First, let’s make sure our theme is installed on the new site
Now, let’s activate the Vantage theme
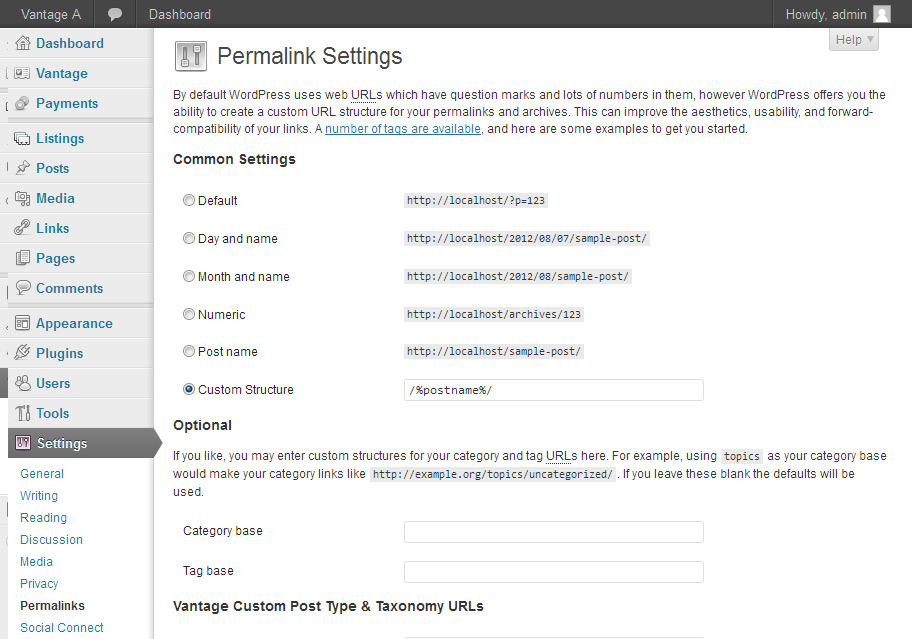
Make sure you have permalinks enabled, by navigating to Settings -> Permalinks. Click the “Save” button to save your permalinks settings. Click to install the WordPress importer
This helps flush the permalink rules and ensures they are updated and ready
You should disable any plugins you have installed, at least until after we import the content.
This would also be a good time to get your WordPress installation upgraded to the latest release
Ok, now that we have that ironed out, let’s move onto the actual importing. Remember, these steps are completed on the new site that has been prepared using the steps directly above. Click to continue installing the importerImporting the Created Export File
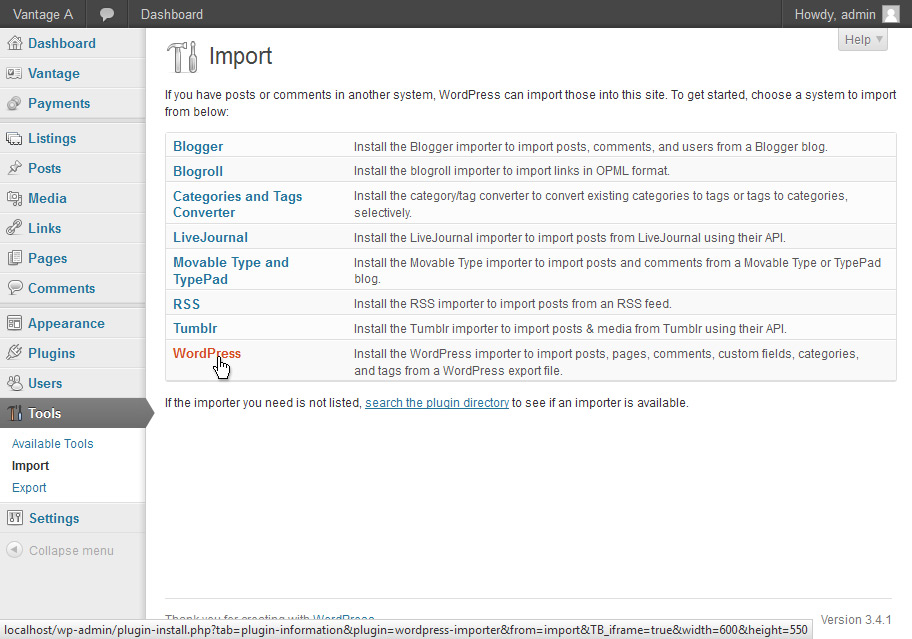
In wp-admin, logged in as an administrator, in the left sidebar, navigate to Tools -> Import.
You will see the Import page, with several options available for import file types, and you will click the “WordPress” option on the bottom.
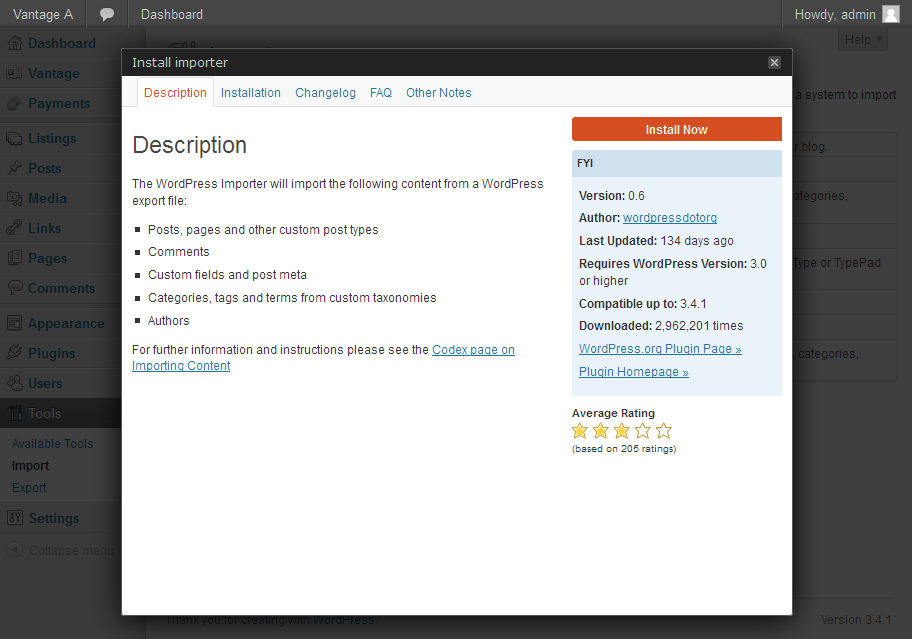
If you get a pop-up, prompting you to “Install importer”, go ahead and click the red “Install Now” button on the top right.
After it downloads the importer, click “Activate Plugin & Run Importer”.
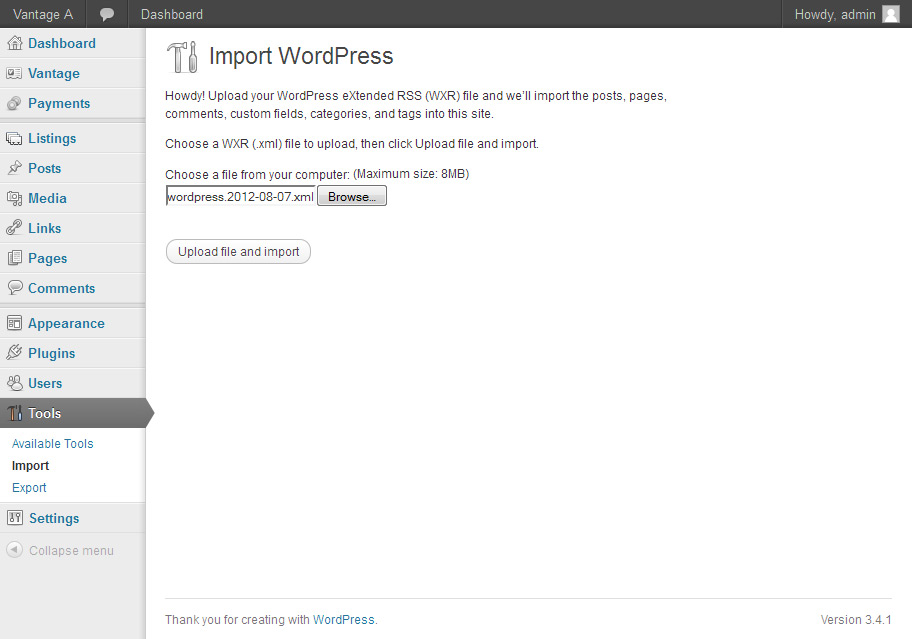
Upload the XML file
You will now see the “Import WordPress” page, prompting you for that file we created in the export step, click the “Choose File” / “Browse” button and select that file.
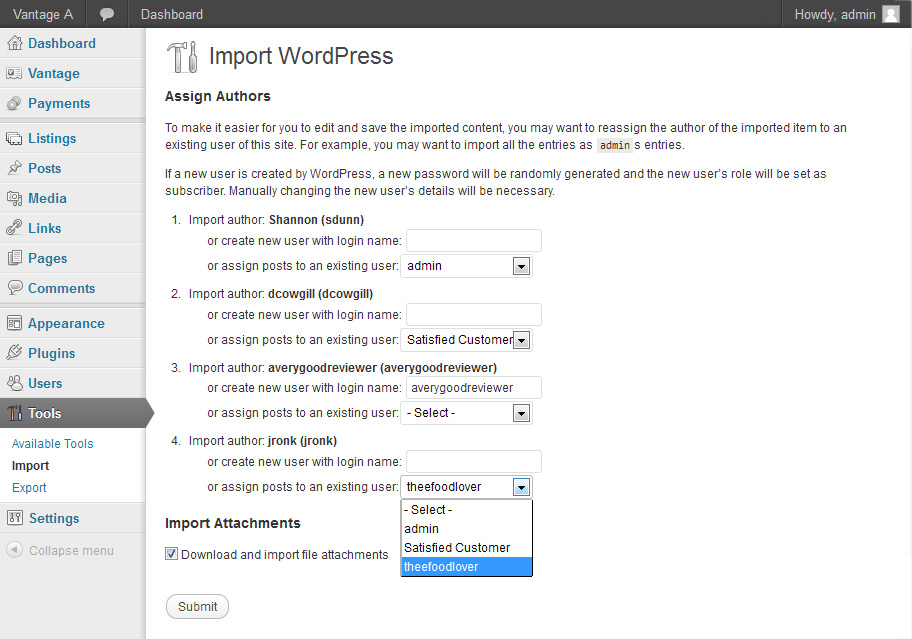
The importer will see the different Authors of the original content from that export file, and will ask you how you would like to map the authors in this new site.
You can choose the drop down below each “Import Author” to select an existing user to map that Author to, or WordPress can create a new user in which you should write in the text field the name of the new Author/User.
Assign authors and importCheck the checkbox at the bottom to “Download and import file attachments”.
When you are ready, buckle up and click the “Submit” button.
Importing can take a few minutes or more if you have a lot of data. You will see it working hard and it will output all the results of the many things it has imported.
As the importer will have put it in the end, “All done. Have fun!”.
Also, the importer will remind you “Remember to update the passwords and roles of imported users.” which applies if you had existing authors mapped or created in this import process, but if you just mapped them all to admin (you) for example, then there is no further action you need to take.
You should navigate to your website front end and click around to make sure everything looks right, and then proceed with some helpful final setup steps below and find more setup tips and help on our Vantage Documentation site.
Final Setup
Setup your widgets in Appearance -> Widgets, like the “Vantage – Listing Location” for the “Single Listing Sidebar”, more about widgets here.