Note: This tutorial is meant for WordPress beginners!
Maybe you would like to receive some feedback from your site visitors or give them a chance to ask you further questions about the services that you offer. What better way to do that than adding a contact form to your site. In this tutorial, you will learn how to install the excellent Contact Form 7 from Takayukister into your AppThemes application theme. It takes just a few minutes, so let’s start immediately:
Download and Install
First thing that we need is the Contact Form 7 plugin. You can download and save the Contact Form 7 Plugin from the WordPress plugin repository. No need to unzip the file, just save it so you can find it later.
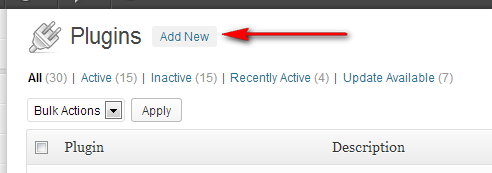
Now open your WordPress admin area, go to the plugins section and click “Add New”
Our next step is to click on “Upload” so that you see the message “Install a plugin in .zip format”. Click the button and find the contact-form-7.x.zip file you saved earlier. Click “Install Now”.
Your plugin will need a while to upload depending on your internet connection speed, so please be patient. Just wait until you see the message “Plugin installed successfully” and then press “Activate Plugin”. The plugin is now installed and it’s time for us to setup a page and menu.
Adding the Form to a Page
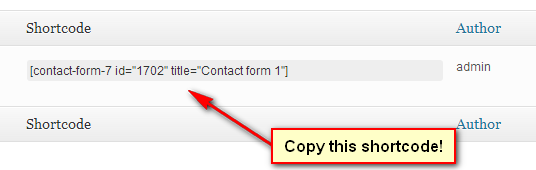
What we need next is the shortcode from the plugin to place it on a normal WordPress page. In your WordPress admin menu you will see “Contact”. Click on that and something like in the following screenshot will show up. For now just copy or note the shortcode that you see there.
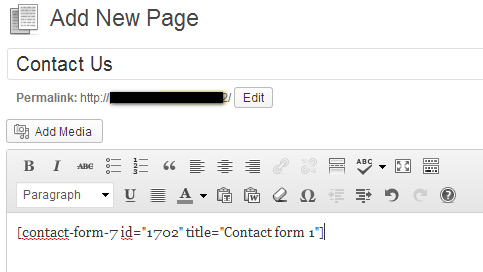
Now we need to create a simple WordPress page that we can use to show the contact form on our website. Go to WordPress “Pages” and create a new page. In this tutorial we choose the title “Contact Us”. In the description field we simply paste the shortcode from above, nothing else! That’s it. Save (Publish) your settings.
Please Note: The ID number that you see on your site can be different from this tutorial. Don’t use the one from here!
Adding to the Menu
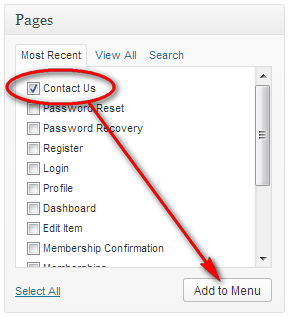
Now it’s time to make sure people can find your contact form. So let’s place a link to our Header menu. To do so, go to WordPress Appearance > Menus and find your newly created page on the left side where it says “Pages”. Find your “Contact Us” page, checkmark it and click “add to Menu”
Now you should see something like this:
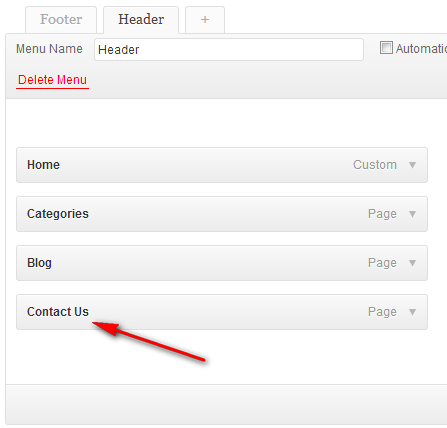
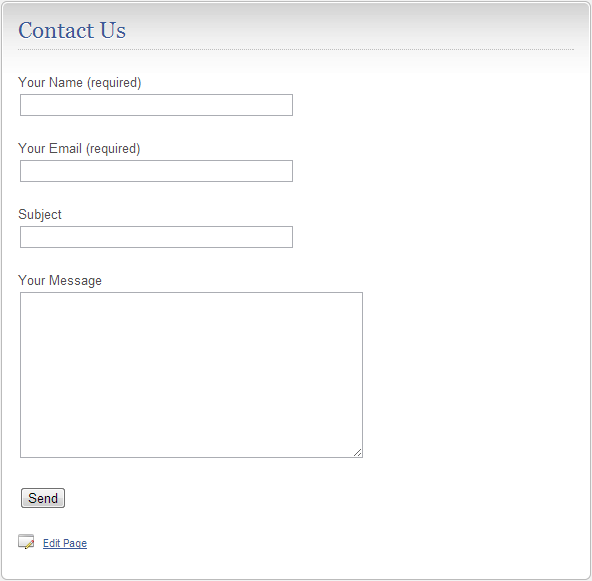
Save the settings by clicking on the “Save Menu” button. Got it? Well, nothing more to do. Go to your frontpage and enjoy your new contact form that will look like this:
Did I mention that you can use this tutorial on any theme from AppThemes? There are no known problems using this plugin at this time.
In an upcomming tutorial I will show you how to tweak your Contact Form 7 to look more professional by adding some additional information. Stay tuned!
Like this tutorial? Subscribe and get the latest tutorials delivered straight to your inbox or feed reader.